Editor’s Note: Robin North is a member of LTV’s sponsored content team, The Leisure Explorers. Do you own a Leisure Travel Van and enjoy writing? Learn more about joining the team.
This post is for the clotheshorse. The fashionable, active, and indecisive wardrobe wanderers. I love clothes too and when I traveled for work I always packed a slightly downsized version of my closet. Standing at the luggage carousel in the airport required a porter to help me with my bags (a few in Atlanta, knew me by name!)
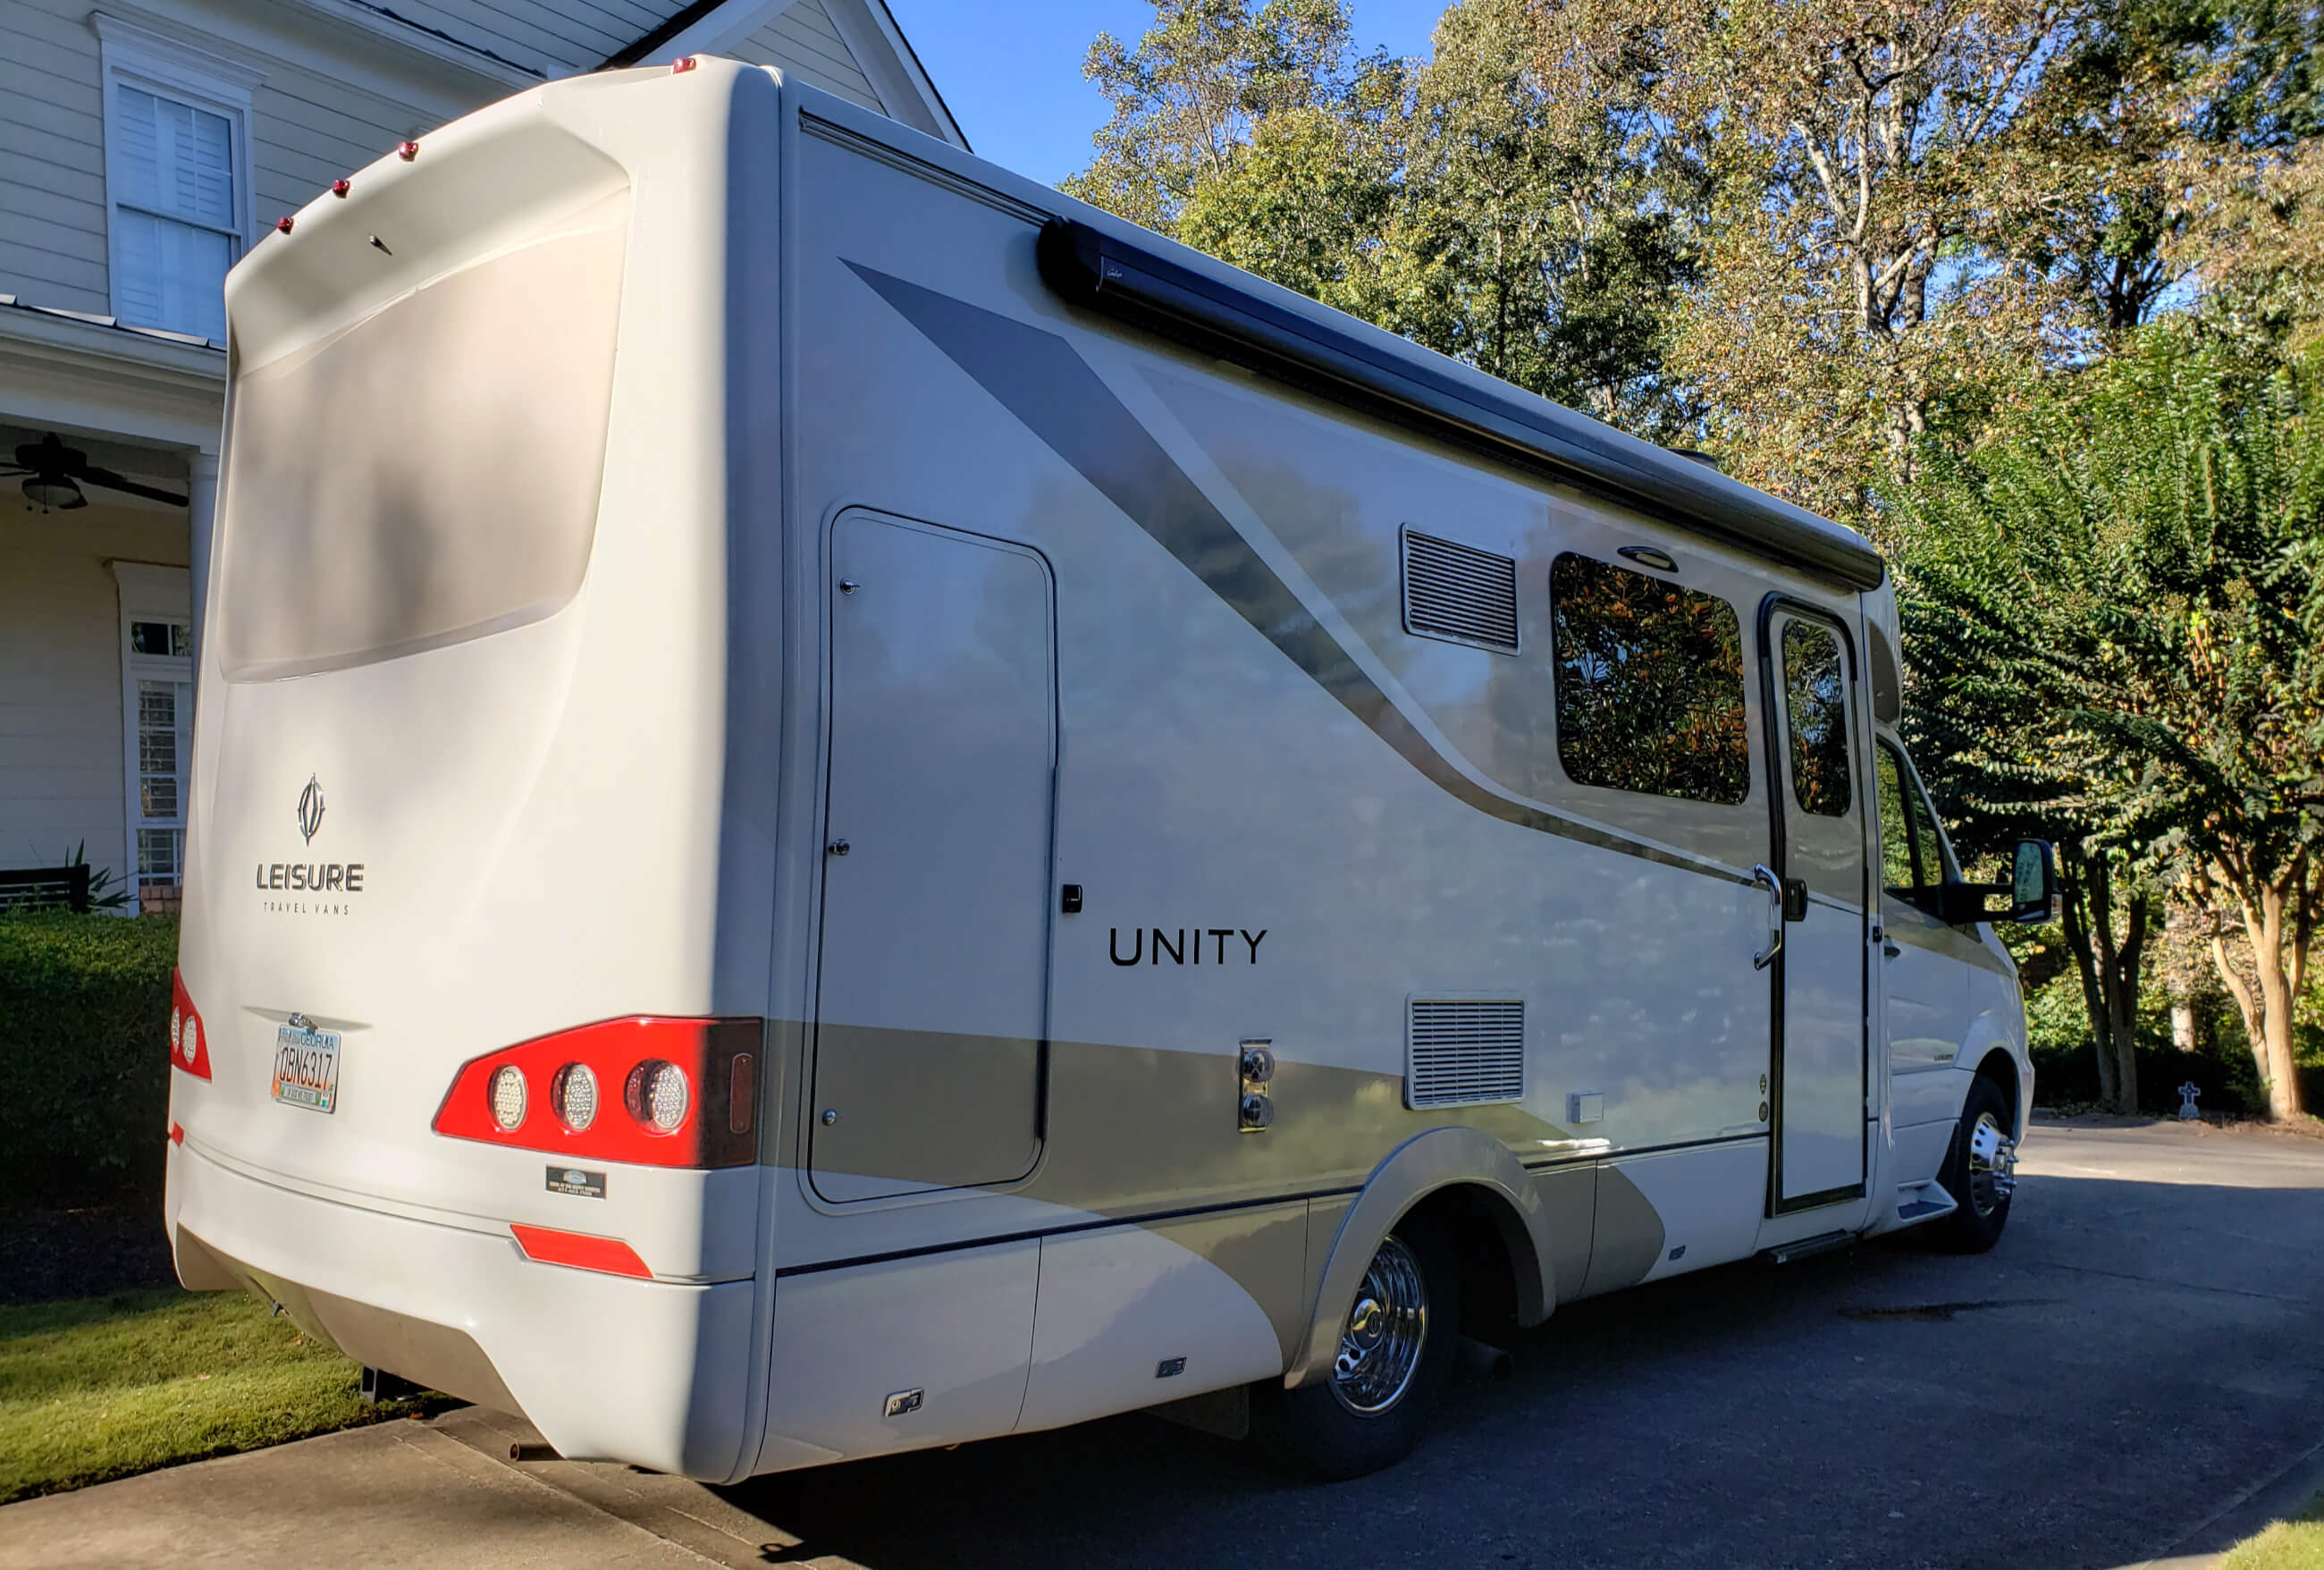
When we bought our Unity MB, I just assumed it was a very comfortable “travel trunk” and I could bring along most anything I wanted as far as clothes are concerned. While it has very good storage space for a small RV, it holds a lot less than my closet at home. Now don’t get me wrong, I love our Unity – it’s easy to drive, maneuverable, efficient, and fits in almost anywhere. Its size is one of the things that makes it so appealing. But, when it comes time to pack up for a trip its small size can be a challenge for a fashionista.
On our first long trip, I stuffed the closet and drawers full as well as one of the outside compartments with clothing, my husband Jim was relegated to one shelf, a few hangars, and a drawer. You see, I like to be prepared, so I took clothing to fit almost any occasion and of course, shoes to match. I had a couple of nice dresses to go out to dinner, a suit (in case I needed to do something for business), casual clothes for shopping, beachwear, as well as hiking and kayaking outfits, for all those things I thought I might do on the trip.
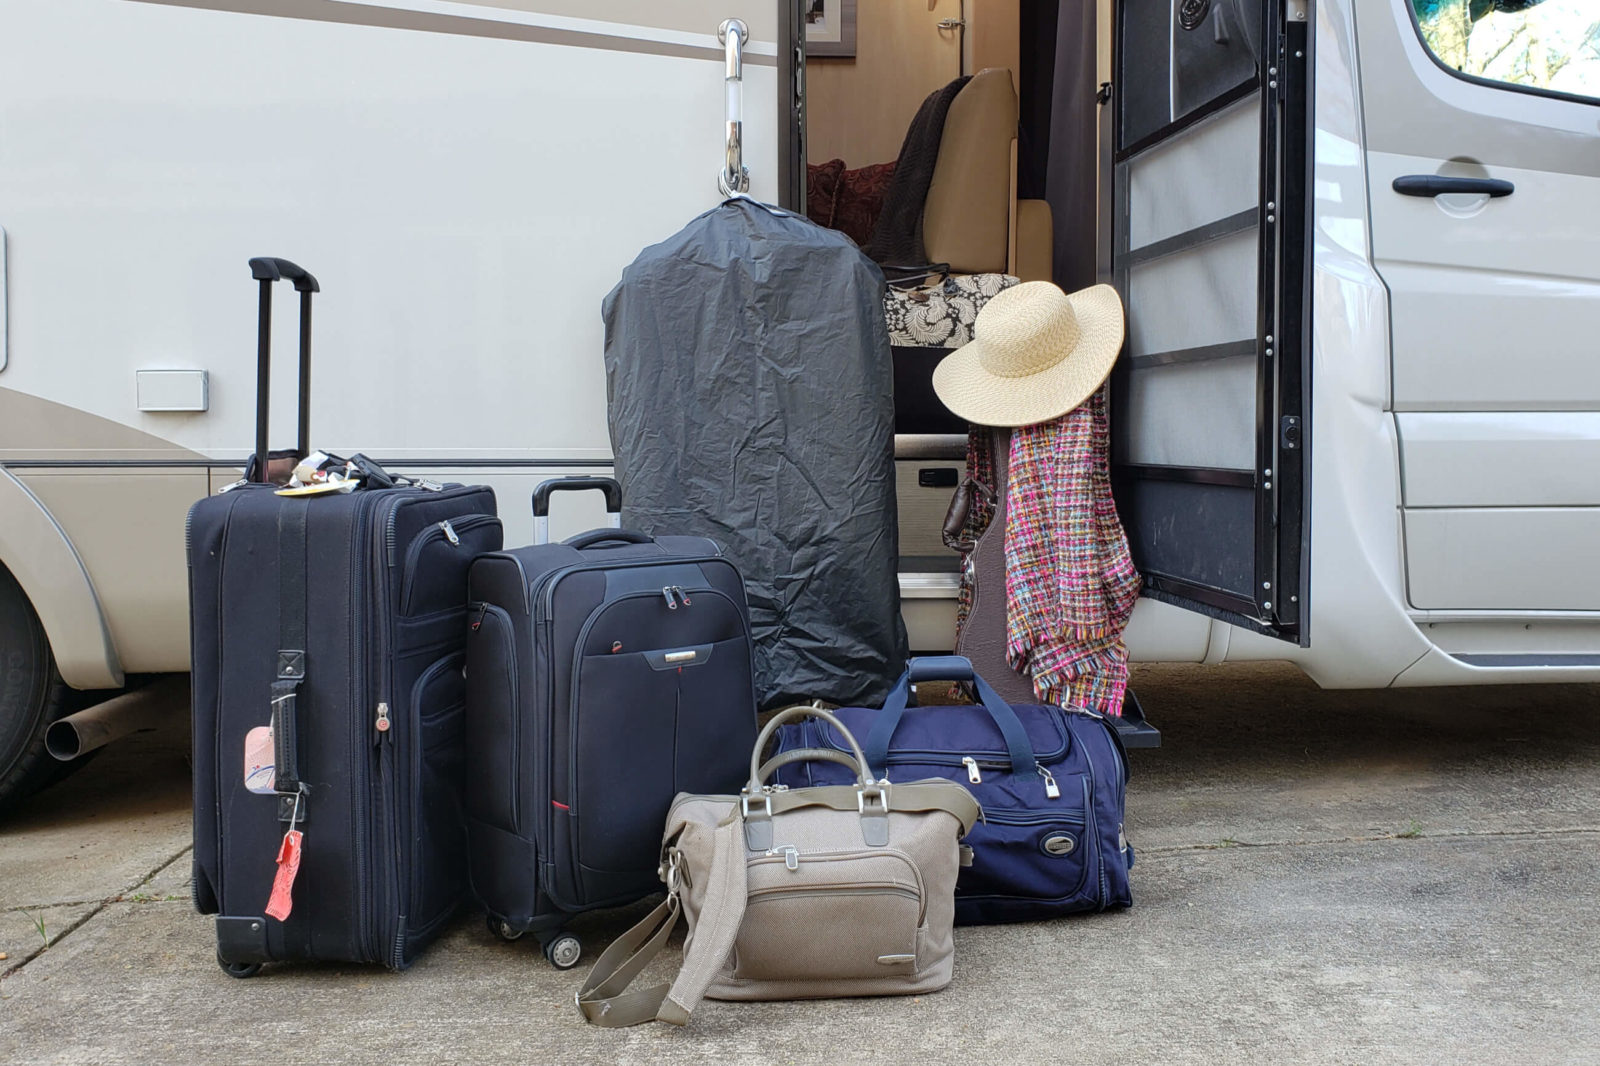
Luggage waiting to be loaded… where?
Now, fast forward five years and 30,000 miles of RV trips later, packing a travel wardrobe is now a different story. I actually share the closet and drawers with Jim’s clothes! So, what happened you ask? I had an epiphany while unpacking from one of those early trips. There were zipped bags of clothes that had never been opened items that I forgot I had packed, and shoes that remained in their protective sleeves. As I hauled that unused clothing from the RV back to the house, I muttered – “I can’t believe I didn’t use any of this”.
That winter while we were planning the next big trip I discovered a Pinterest post about capsule wardrobes. I read the blog and then bought the book and was horrified! The author suggested I pare down my wardrobe to 30 pieces -WHAT?! She proceeded to explain how every item mixes and matches with every other item allowing you to build multiple outfits. Okay, so I understand coordinates – I have bought wardrobes-worth of clothing like that, but this concept was a bit over the top.
As for a travel wardrobe, she suggested that if you are going on a 4-day trip, pack for 2, launder the items and wear outfits twice. This made me feel faint. Obviously, she didn’t understand that small RVs don’t have laundry equipment and as for wearing the same outfit twice, well, that’s just crazy talk. However, I was not at all into this “30-item” strategy, but I did begin to see that I could be a bit more discerning with my packing list.
Being the methodical person I am, I measured the RV wardrobe closet and drawers. And then figured out how many pieces of clothing I could hang or fold. Looking at the number of items, I knew that I couldn’t fit everything I wanted to take along, so I went back to my packing list. I decided I could probably “do” with fewer hanging items – I rarely wore a dress or suit while camping. Thankfully Jim, in his infinite patience, built an insert for the wardrobe that reduced the hanging space and added two shelves on the condition that he still maintains his hangar allotment and gains at least one of the two new shelves. Done deal.
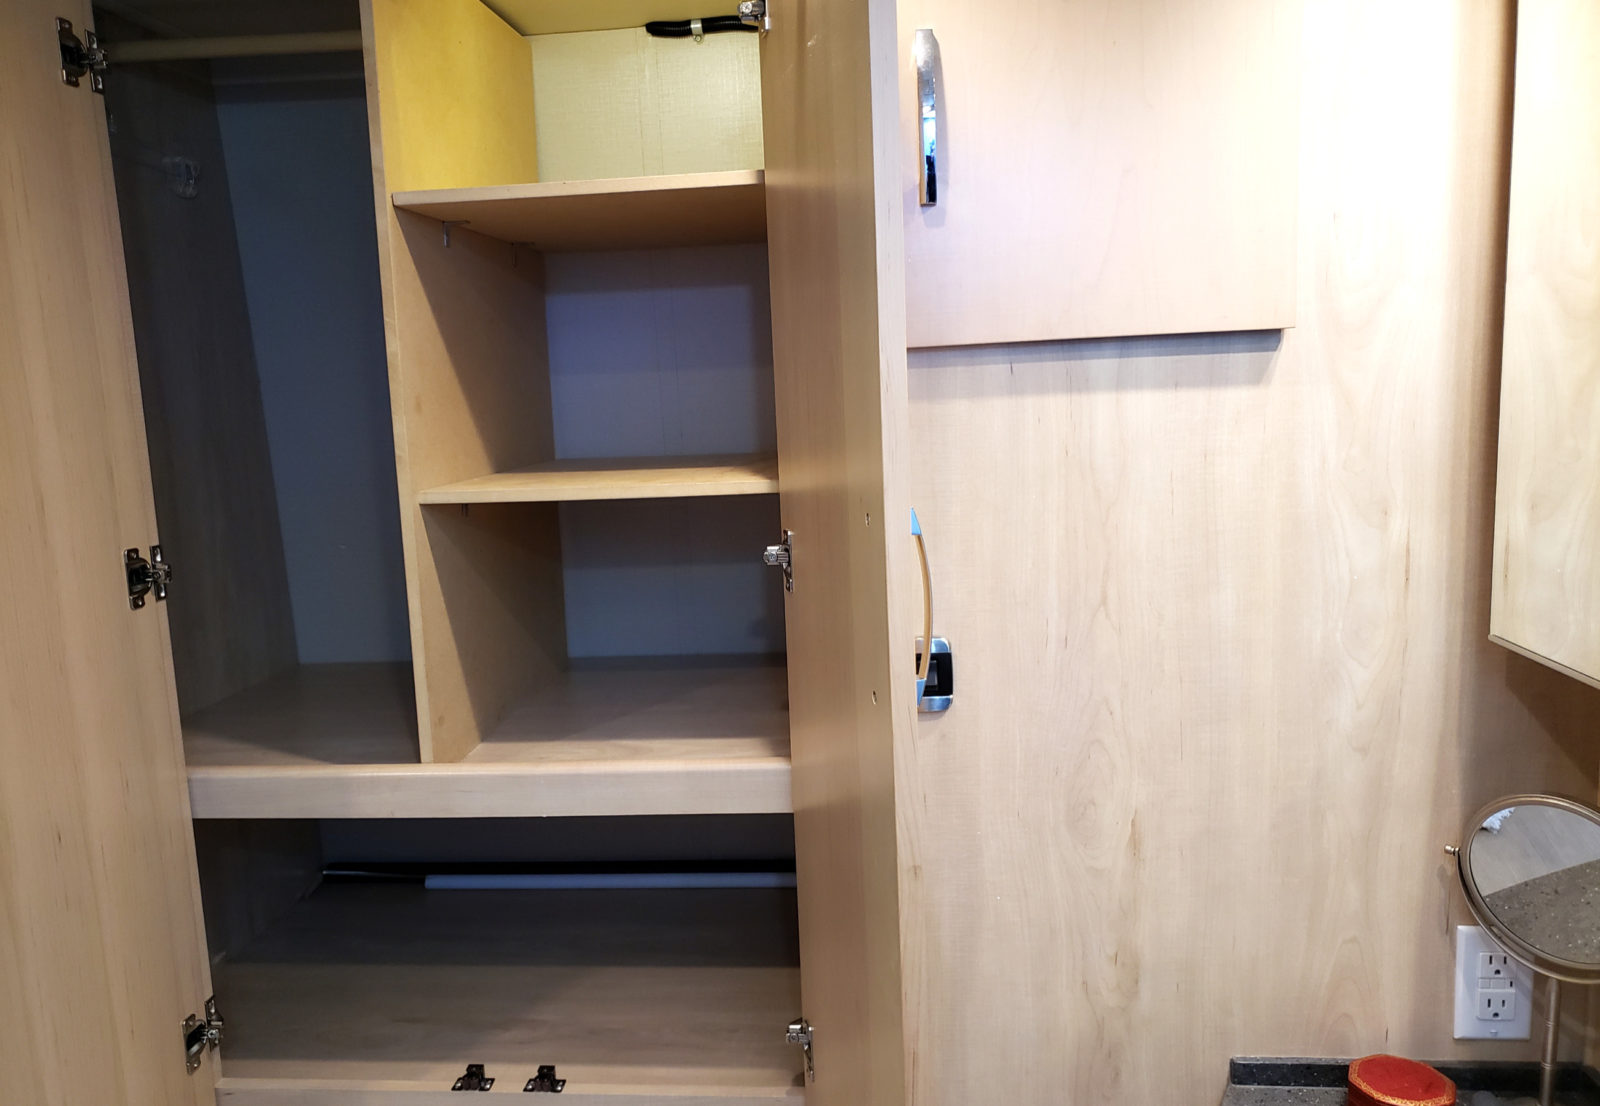
Shelf and rod insert Jim built to accommodate more clothing.
It was back to the packing list. I went through the itinerary for our upcoming trip to see what activities we planned. A hike or two and maybe some kayaking along with the regular activities of sightseeing, shopping, and museum visits. In terms of shoes, I would need hiking and water shoes. Other than that, the outdoor clothing would just be jeans and tee shirts with a hoodie. As for sightseeing, shopping, and museum visits, I added just a few coordinates and (I confess) extra shirts, scarves, and jewelry to at least give me a few more options. Reviewing the downsized packing list I was skeptical, so I added another shirt for my peace of mind.
When it was time for our trip, I dutifully packed through the pared-down clothing list and then stuffed in a few more shirts – just in case. Still, I stuck to my “assigned” spaces (things were pretty snug) and Jim packed with his usual ease. I planned a stop every two weeks for laundry and brought along detergent, a few plastic hangars, and clothespins to do “sink laundry” if necessary. I was sure I would run out of clean clothes.
The trip was great, I actually wore most of the clothing and the two-week laundry stops worked fine. I never had to do “sink laundry” which was good since we were on the move every day. Some items that I had packed, I just didn’t need and realized I would have liked other items in their place or just a little more space in the closet to prevent wrinkling (and yes, I always take along an iron).
That is how each trip has gone ever since. I plan out a wardrobe with a number of pieces that will easily fit into the wardrobe and drawers, then adjust the items according to what we plan to do on the trip. You might wonder about heavy clothing for cold weather. We typically camp in moderate weather but for winter trips, we use space-saving, vacuum-sealed bags. They will still take up a good amount of room, so we put them in an outside compartment.
I think in terms of projects and processes, my RV travel wardrobe has been a very successful and enlightening project. I’ve learned to live with less and it is rather liberating! Maybe you’ll enjoy it too. Here’s my Small RV Capsule Wardrobe decision process:
First, think about the types of activities you’ll be doing on THIS trip. Write these down and list the types of clothing you need for each of those activities. Outdoor activities like biking, swimming, or kayaking may require special clothing (hiking boots, water shoes, swimsuit, flip flops, etc.) Regular travel activities like sightseeing, restaurant outings, and tours all probably use similar types of clothing so it is a matter of how few outfits you can live with.
Next, make a storage space inventory of your RV. How much and what type of storage do you have? This includes hanging space, drawer space, cupboard space, outdoor compartments, or under-bed storage. Consider using space-saving bags to reduce bulk, use hooks on the back of a door for belts or scarves, and identify a spot for shoes. Activity clothing might go in an exterior cabinet (in a space bag of course).
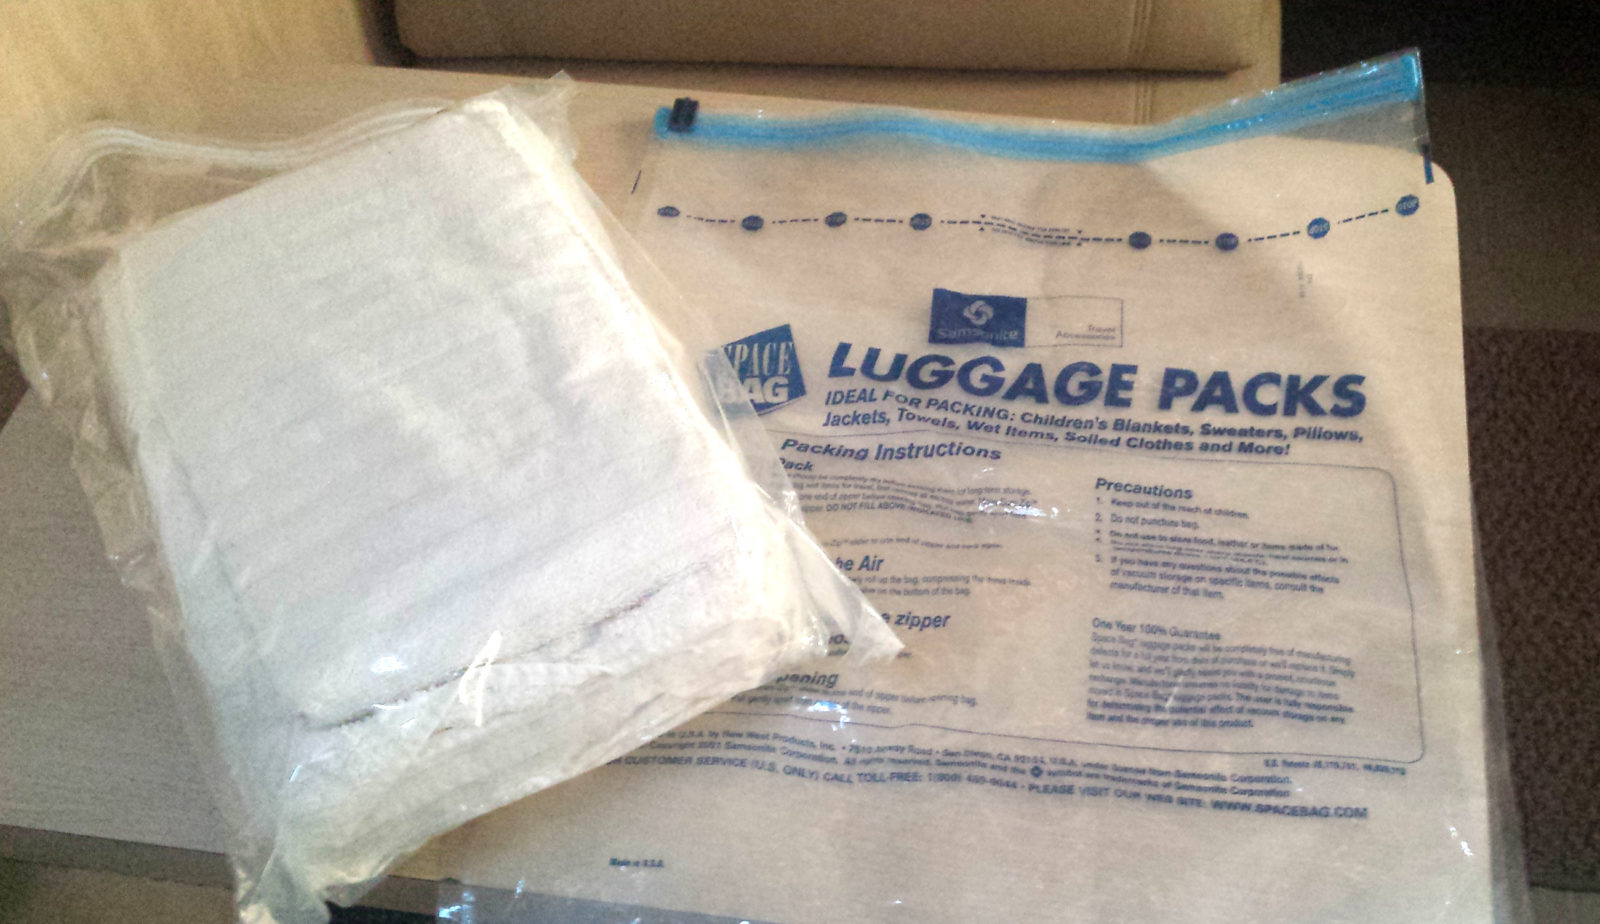
Oh, so handy ‘Space Bags’ zip-up and compress the air from bulky clothing.
Once you identify what space you have for clothing storage, then you can begin the process of building a small-RV travel wardrobe. The number of pieces is directly related to the amount of space you have. The choice of pieces is influenced by the activities you plan for your trip.
Time To Build The Packing List
- Put all the clothing you think you’ll need on the bed – only items that fit, look good on you, and are in good repair.
- Create three stacks of clothing: special activity clothing, regular outfits, and staples like PJs, underwear, and socks.
- Since it’s usually the “regular clothing” that seems to grow beyond space limitations, you’ll probably spend most of your downsizing in this stack. Look at the “regular clothing” stack and consider how the pieces coordinate with each other. Try to coordinate 1-2 weeks’ worth of outfits with the smallest number of pieces possible. This is easier if you choose neutrals for your main pieces (like pants, shorts, sweaters, and jackets) and make your “color pops” with shirts or scarves.
-
Now, determine if the downsized stacks of clothing will fit in the storage space of your RV.
-
If you still have too many items, go back to your “regular clothing” stack and try to reduce the number of items. This is when you consider wearing outfits twice and doing laundry more frequently (sorry, this is real life).
You can get creative with scarves, jewelry, or hats to make your outfits more unique. A simple pair of jeans can change just by the item you add. Try a tee, hoodie, cap, and sneakers for casual outdoor fun, a tailored shirt and flats, or a tank top, scarf belt, and sandals. Shoes are always an issue, but for RV travel you have to reign in your collection to just a few pairs: maybe sneakers, sandals or boots, and flats.
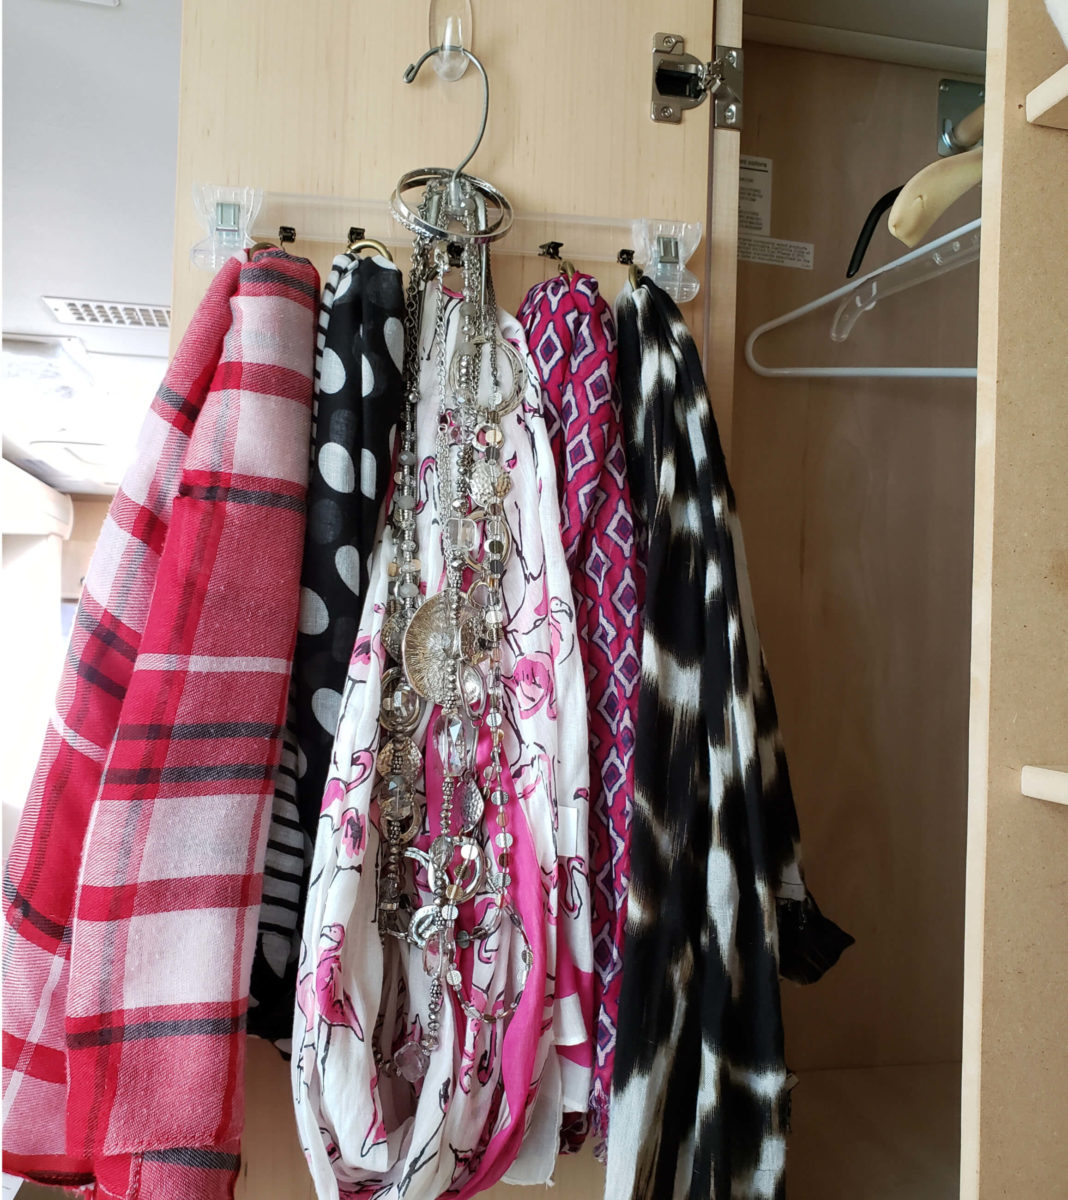
Scarves and jewelry can create unique looks from basic clothing coordinates.
It’s not rocket science and it’s probably not something you gave much thought to when you purchased your RV however, clothing storage and wardrobe habits need to adapt to smaller spaces. Each LTV unit has its own storage configuration and LTV has conveniently put those measurements on the website giving you the ability to do a bit of research before you start packing.
Take it from this “reformed” fashionista, the real key is not the amount of storage space that matters, it’s our idea of how much we really need to be comfortable on the road. If travel is a way of freeing our minds of clutter and freeing our spirits of worldly demands, it makes sense that it can also free up our need to take along everything we own when we travel!


Comments